BadNixie.com
The “Transformer Nixie” alias the PV 568 Spectrum”

BadNixie.com
The “Transformer Nixie” alias the PV 568 Spectrum”
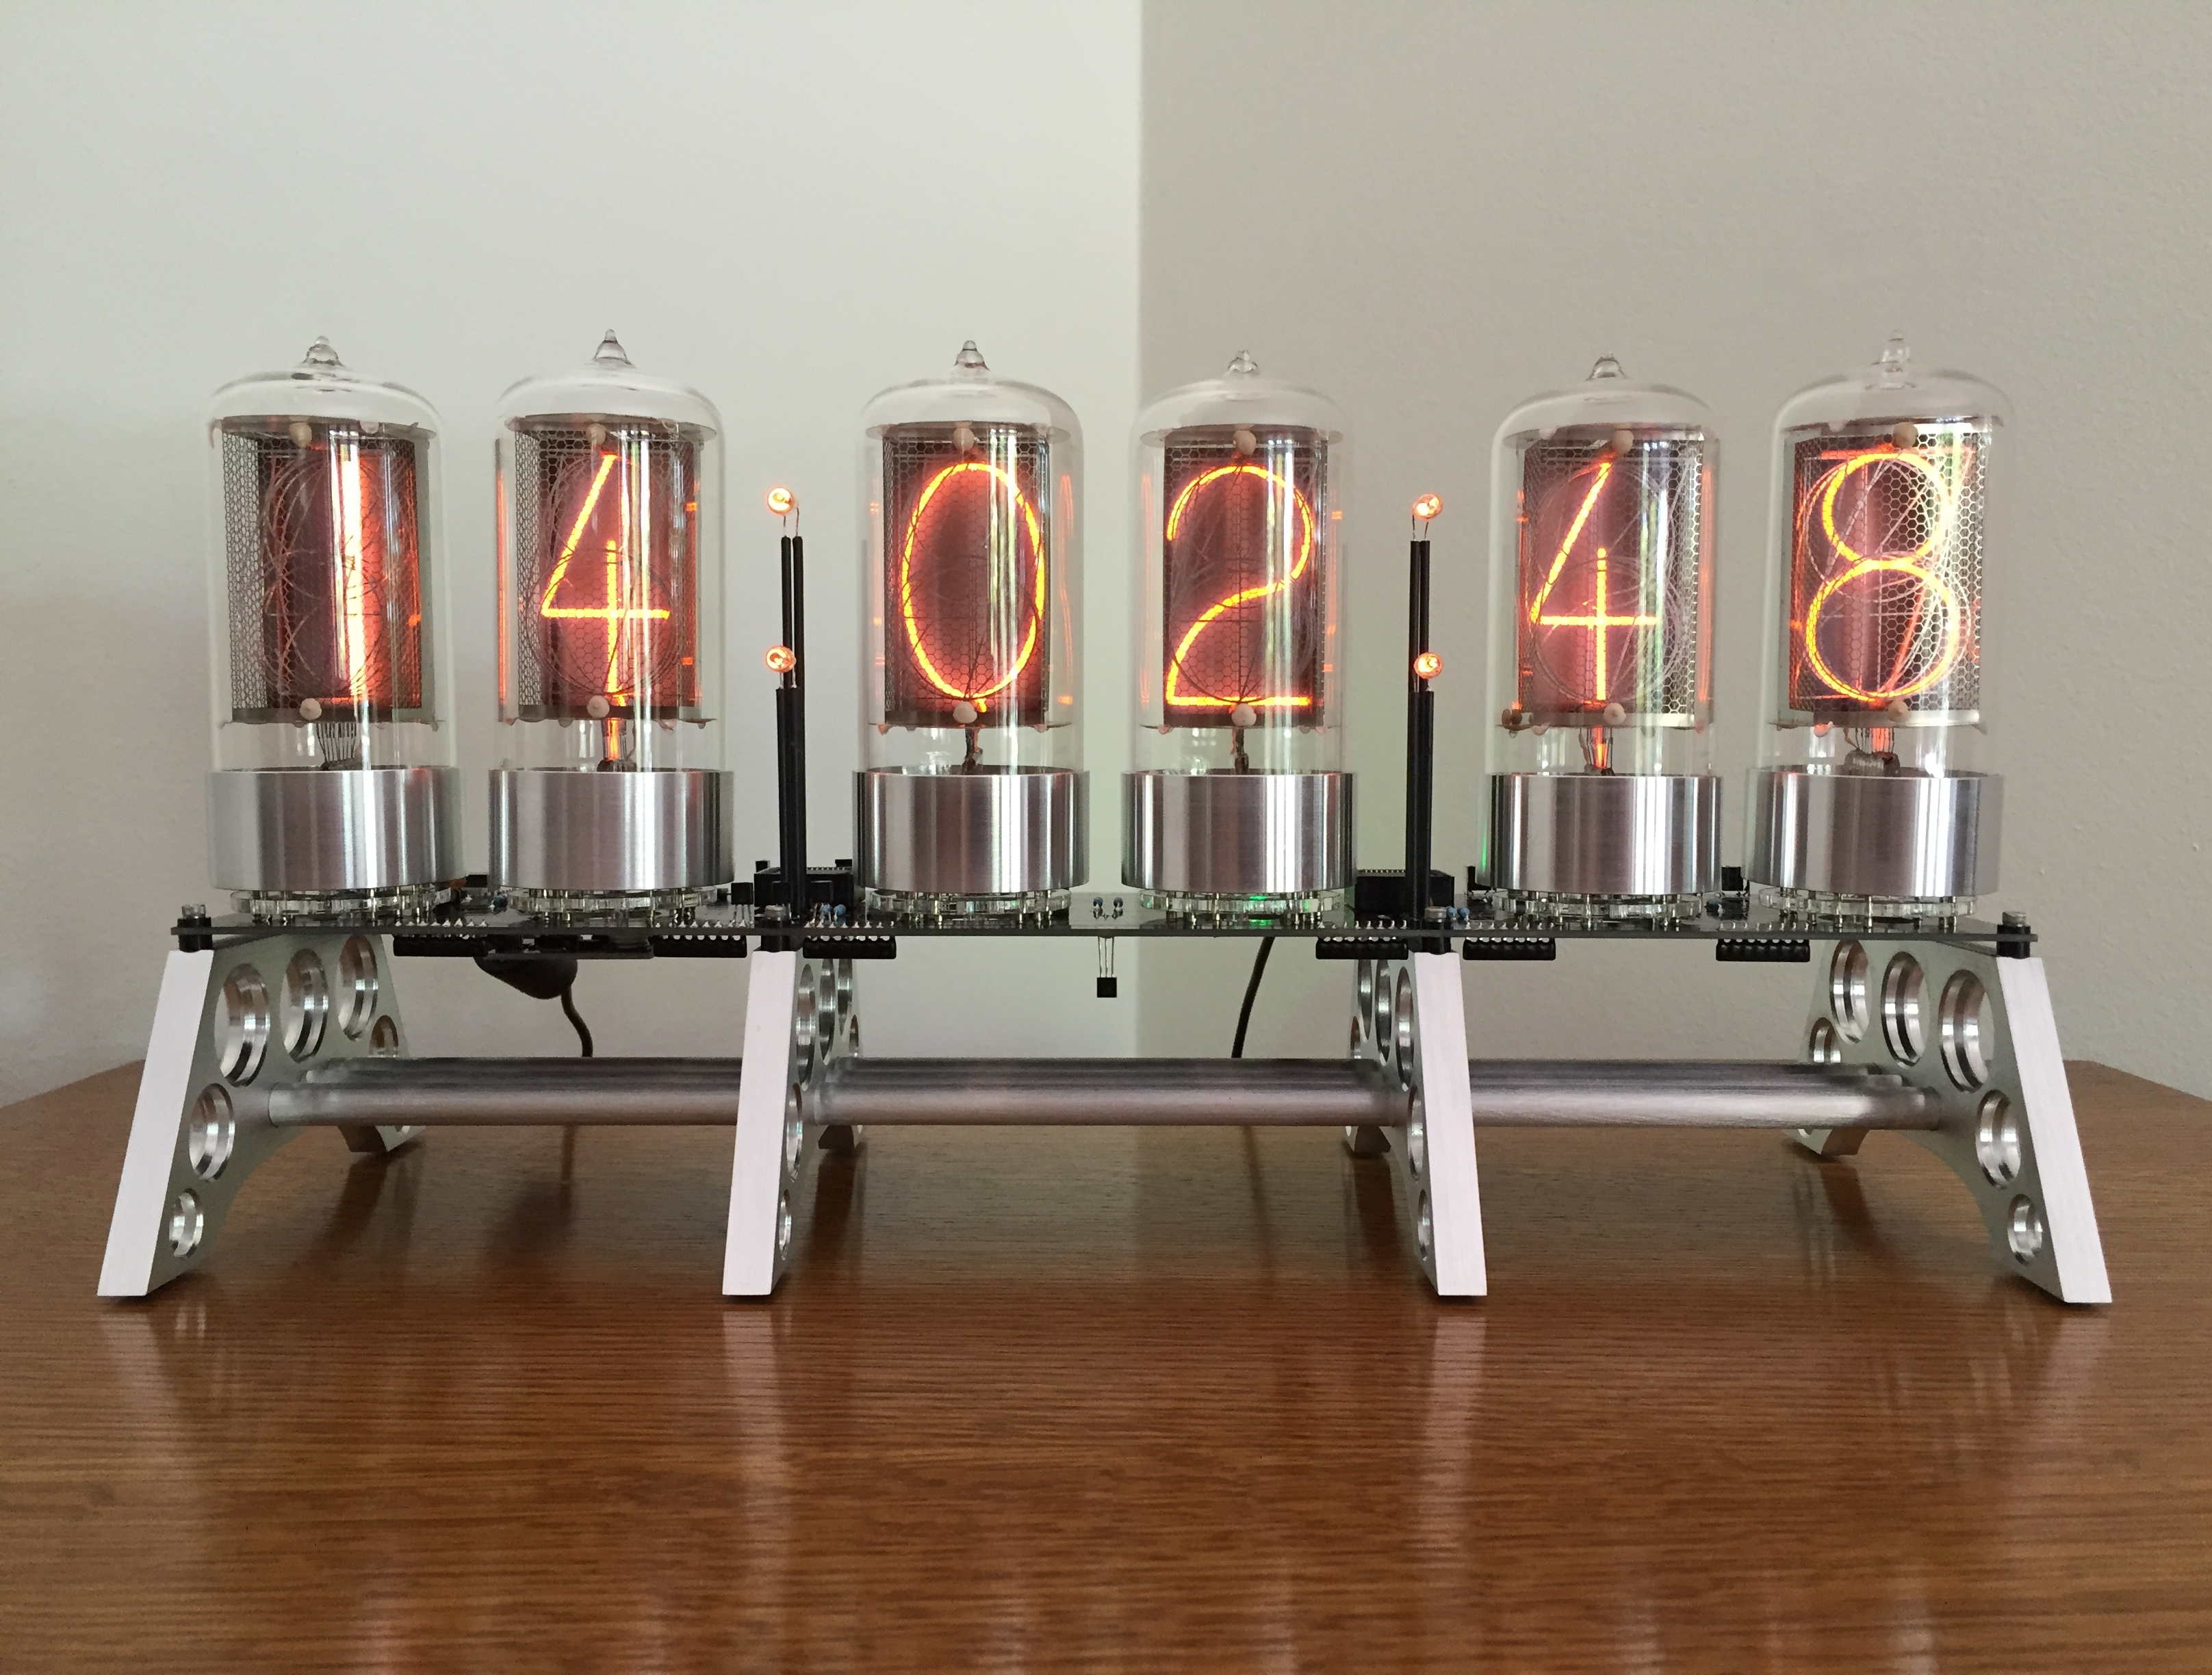
I recently purchased the PV Electronics, (Pete Virica proprietor, http://www.pvelectronics.co.uk/index.php) Spectrum for the 568 Nixie tube. This clock is virtually identical to Pete’s Spectrum for the IN-18 clock, only bigger. The differences here are the obvious larger PCB and tube sockets but the tube spacing ratio has been adjusted to be more ‘balanced’, to my way of thinking. For this clock, I built my own colon towers, drawing from our MOD_SIX-7971 for inspiration and sheathed them in black to best suit this color scheme. I adjusted the Anode resistors to 8.2K vs. the supplied 10K for the tubes and 200K for the NE-2’s. Dalibor Farny actually recommends 8K be used for his tubes, but I was hesitant to go that aggressive.
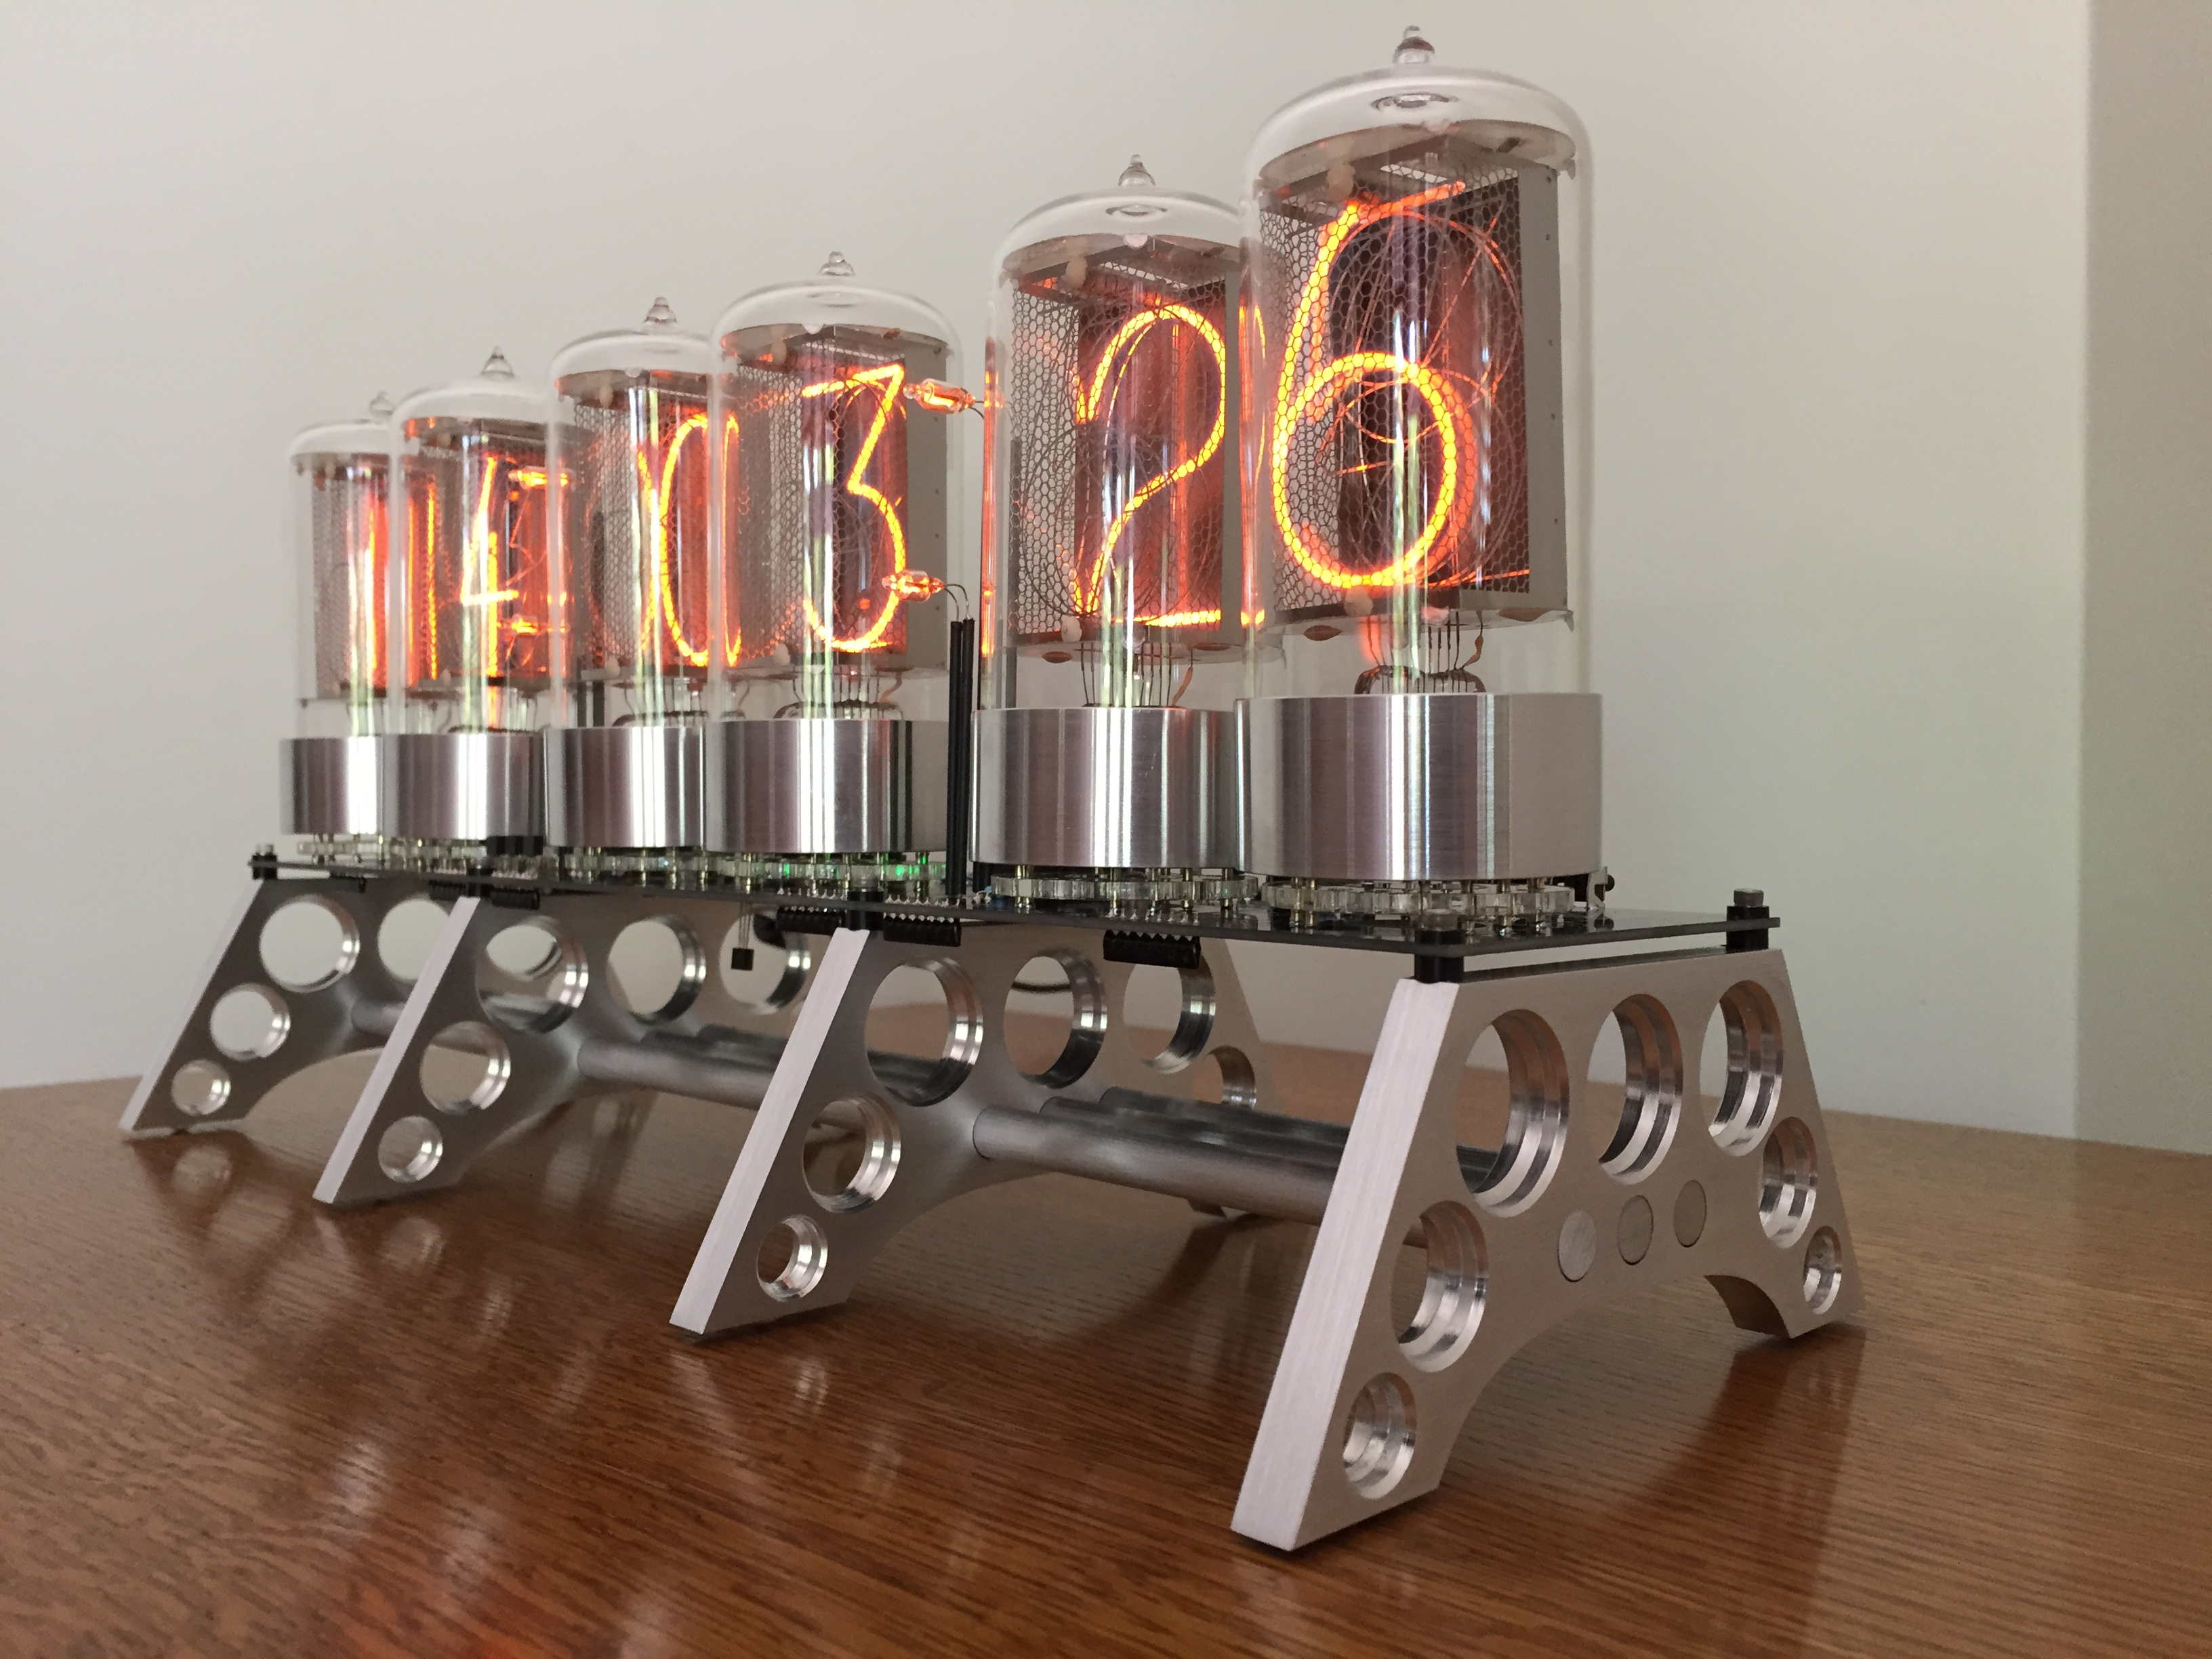
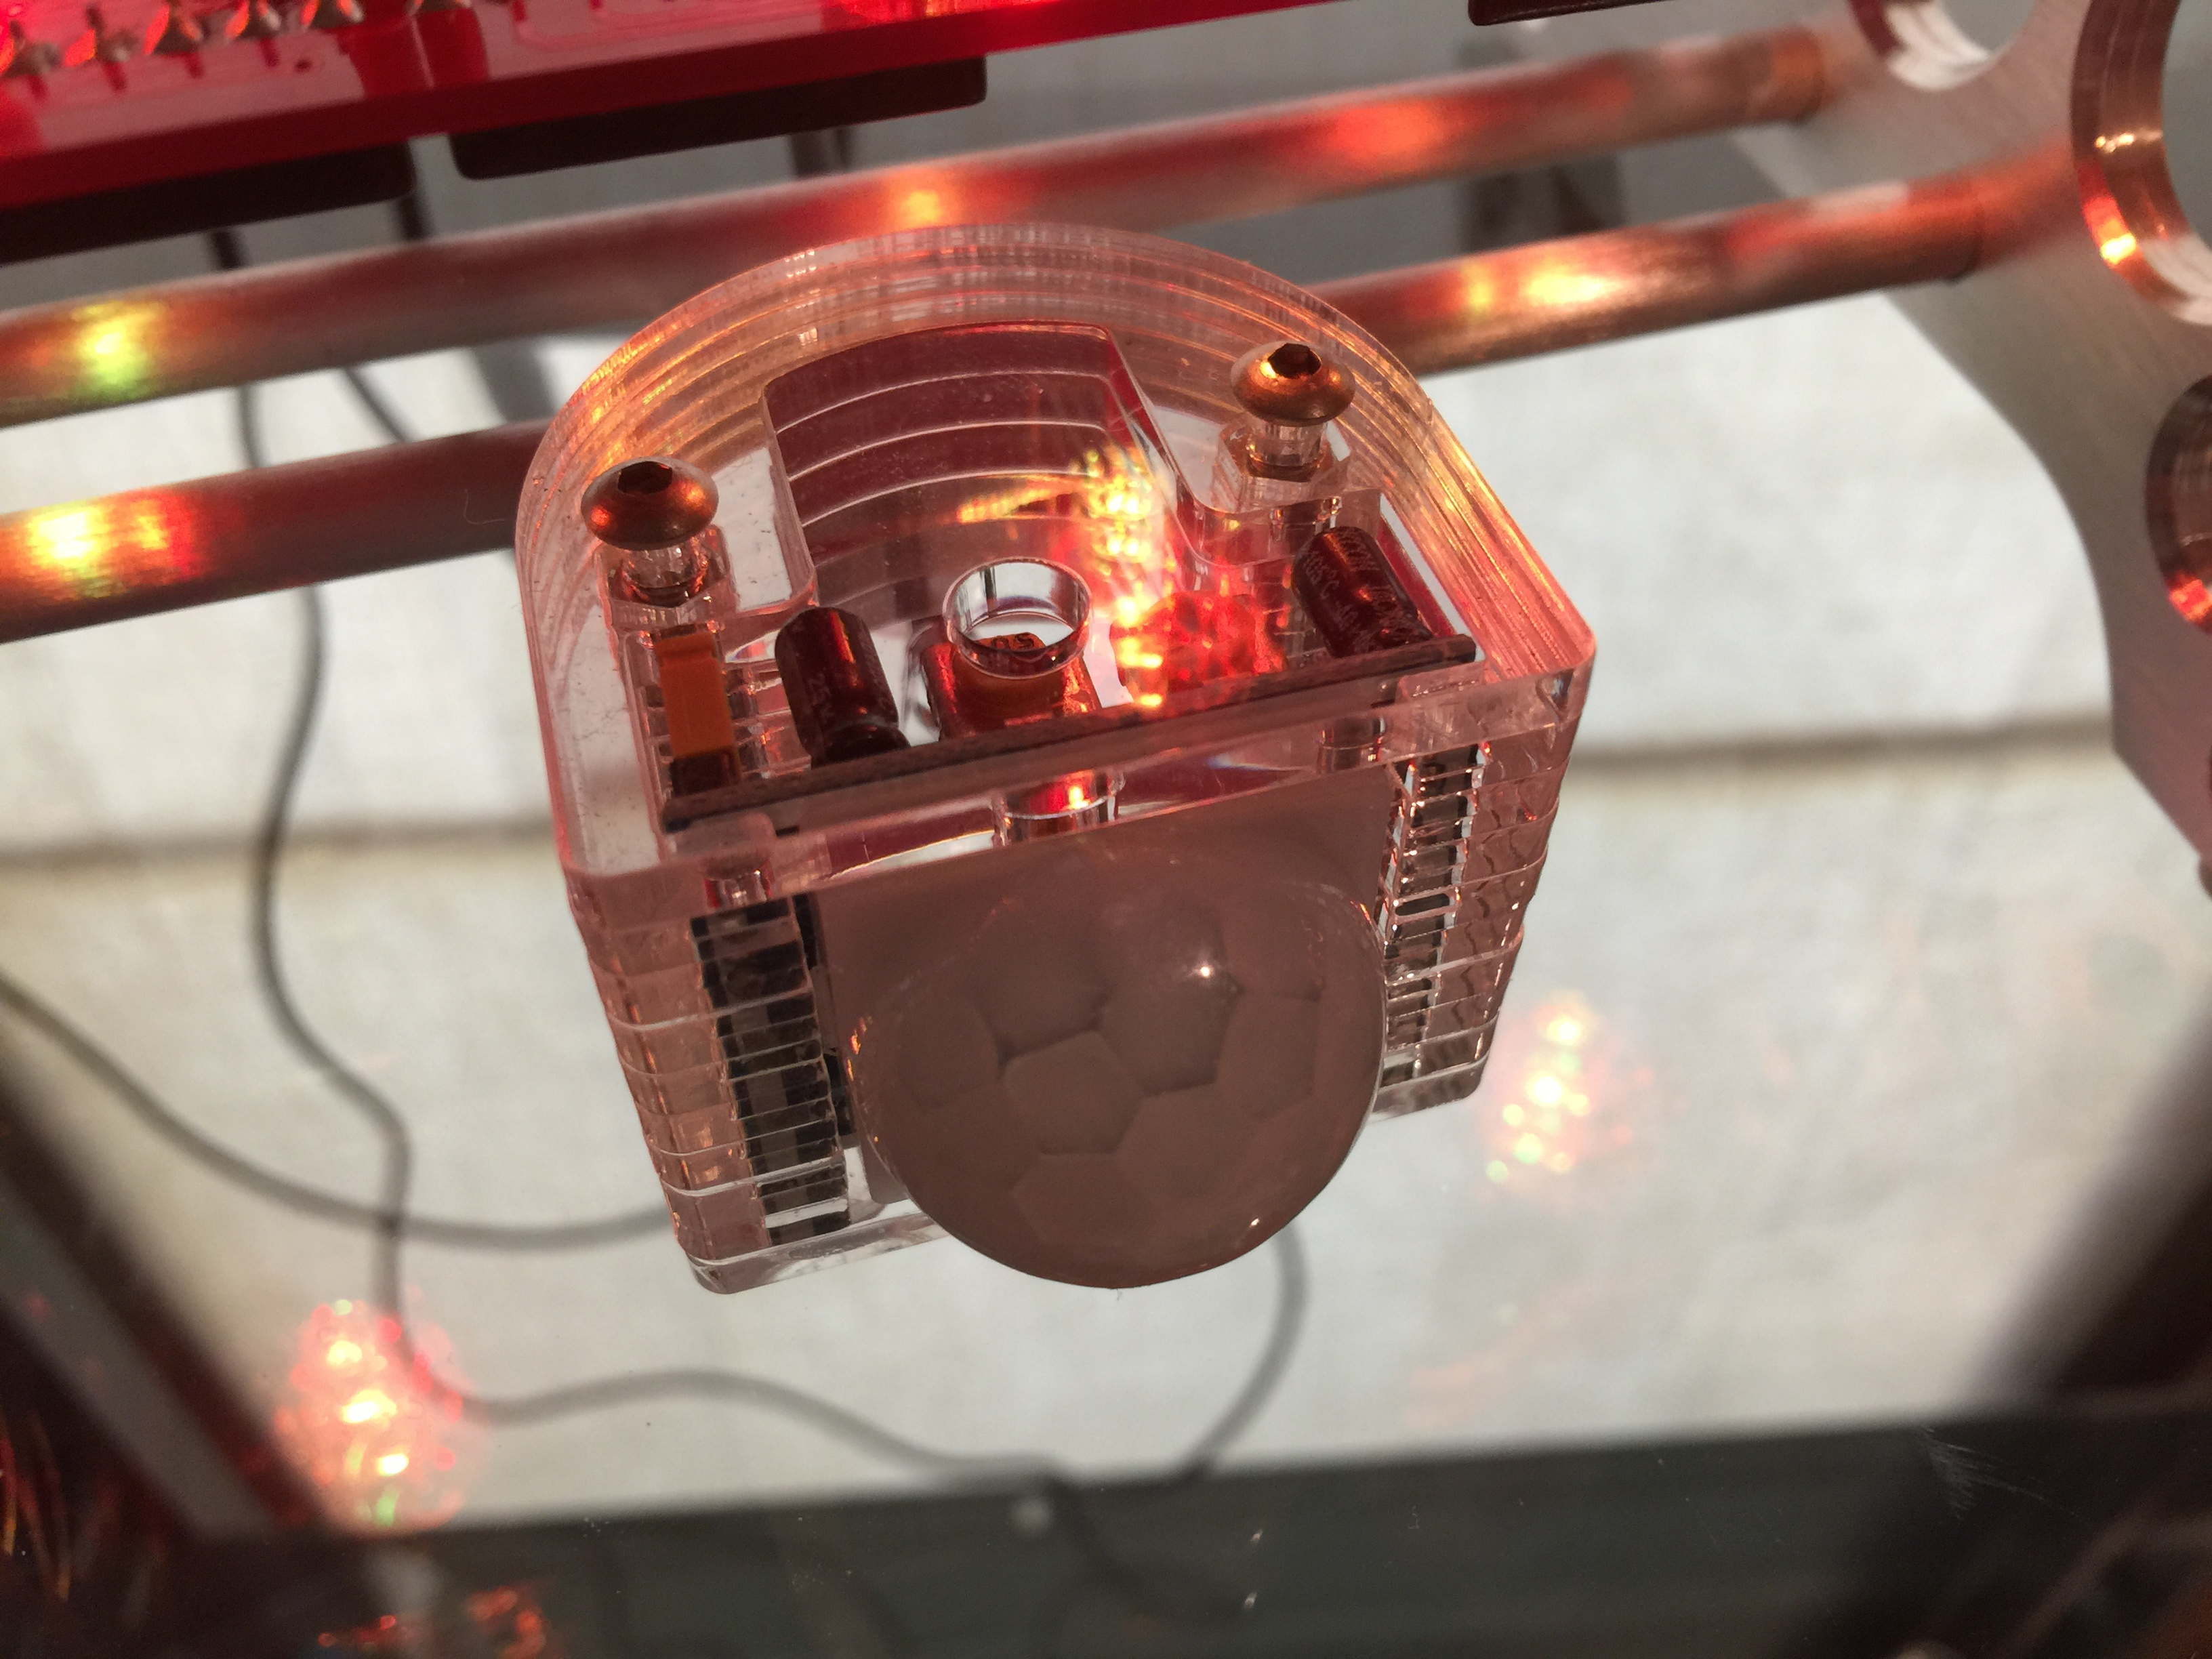
I designed and hand built perforated supports from 3/8” X 2.5” aluminum flat bar. and gave them a brushed finish like the ones I made for his IN-18 clock. I also purchased Pete’s motion sensor (PIR) kit which is a sweet little package and works very nicely. The tubes used here are the masterfully-done Dalibor Farny (http://www.daliborfarny.com) R|Z568M outfitted with his special brushed aluminum bases. These are GORGEOUS tubes and an amazing accomplishment!! LED floor lighting is standard with this clock and I did install it because it was kinda fun to do, BUT to light up these beautiful tubes with multi-colored LED’s from below, to my mind, does not seem right. If you are spending hundreds of dollars on Nixie tubes of this caliber ( either the Farny remakes or the original Z5680’s), you must like the way they look as originally designed, right? So why spoil them? Anyway...I am an anal nixie purist at heart, I guess!
I would recommend this kit as a great set of direct drive electronics at a great price and also because it’s fun to assemble.
There has really been nothing like this kit offered since Jeff Thomas’ NixSat some years ago. Although, Jeff offered a complete package with electronics, tubes, and an elegant choice of finished hardwood bases, times have changed drastically, and the cost of 568’s makes this now impractical. BUT, Farny’s tubes are actually reasonably priced considering he has done what no one has done since Nixies became extinct.
Michael Barile
BadNixie.com LLC

HOW I DID IT
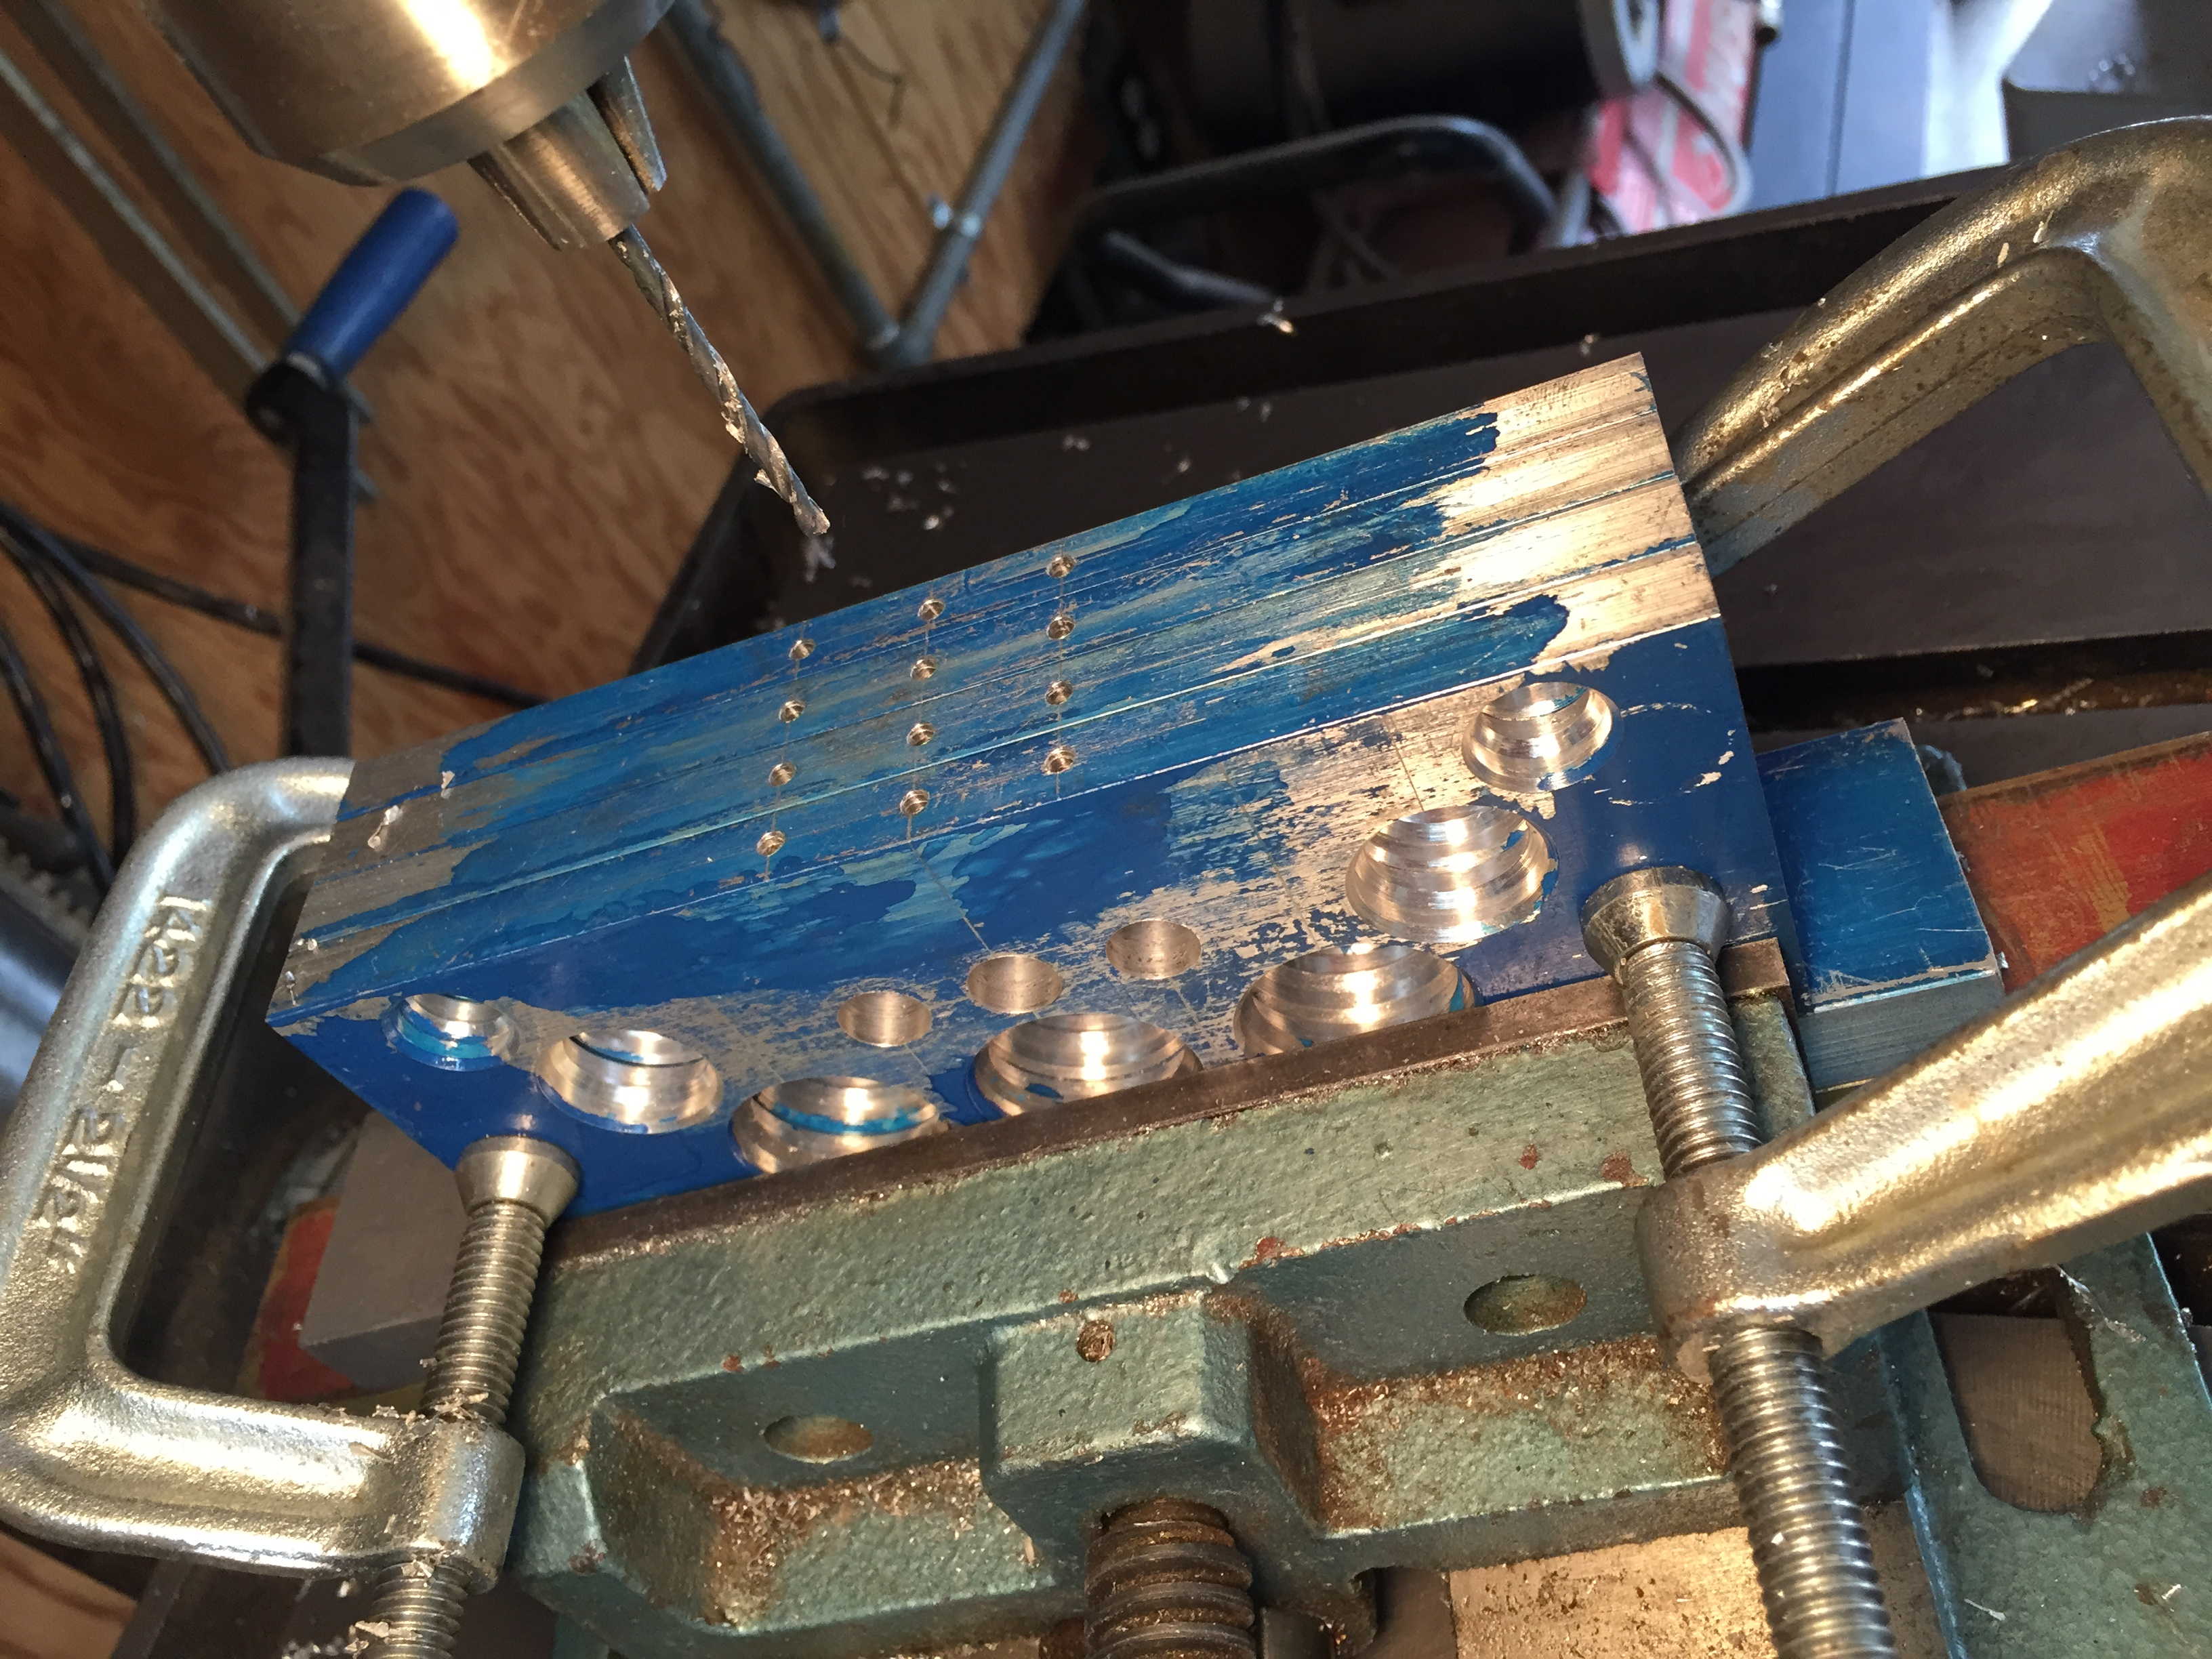
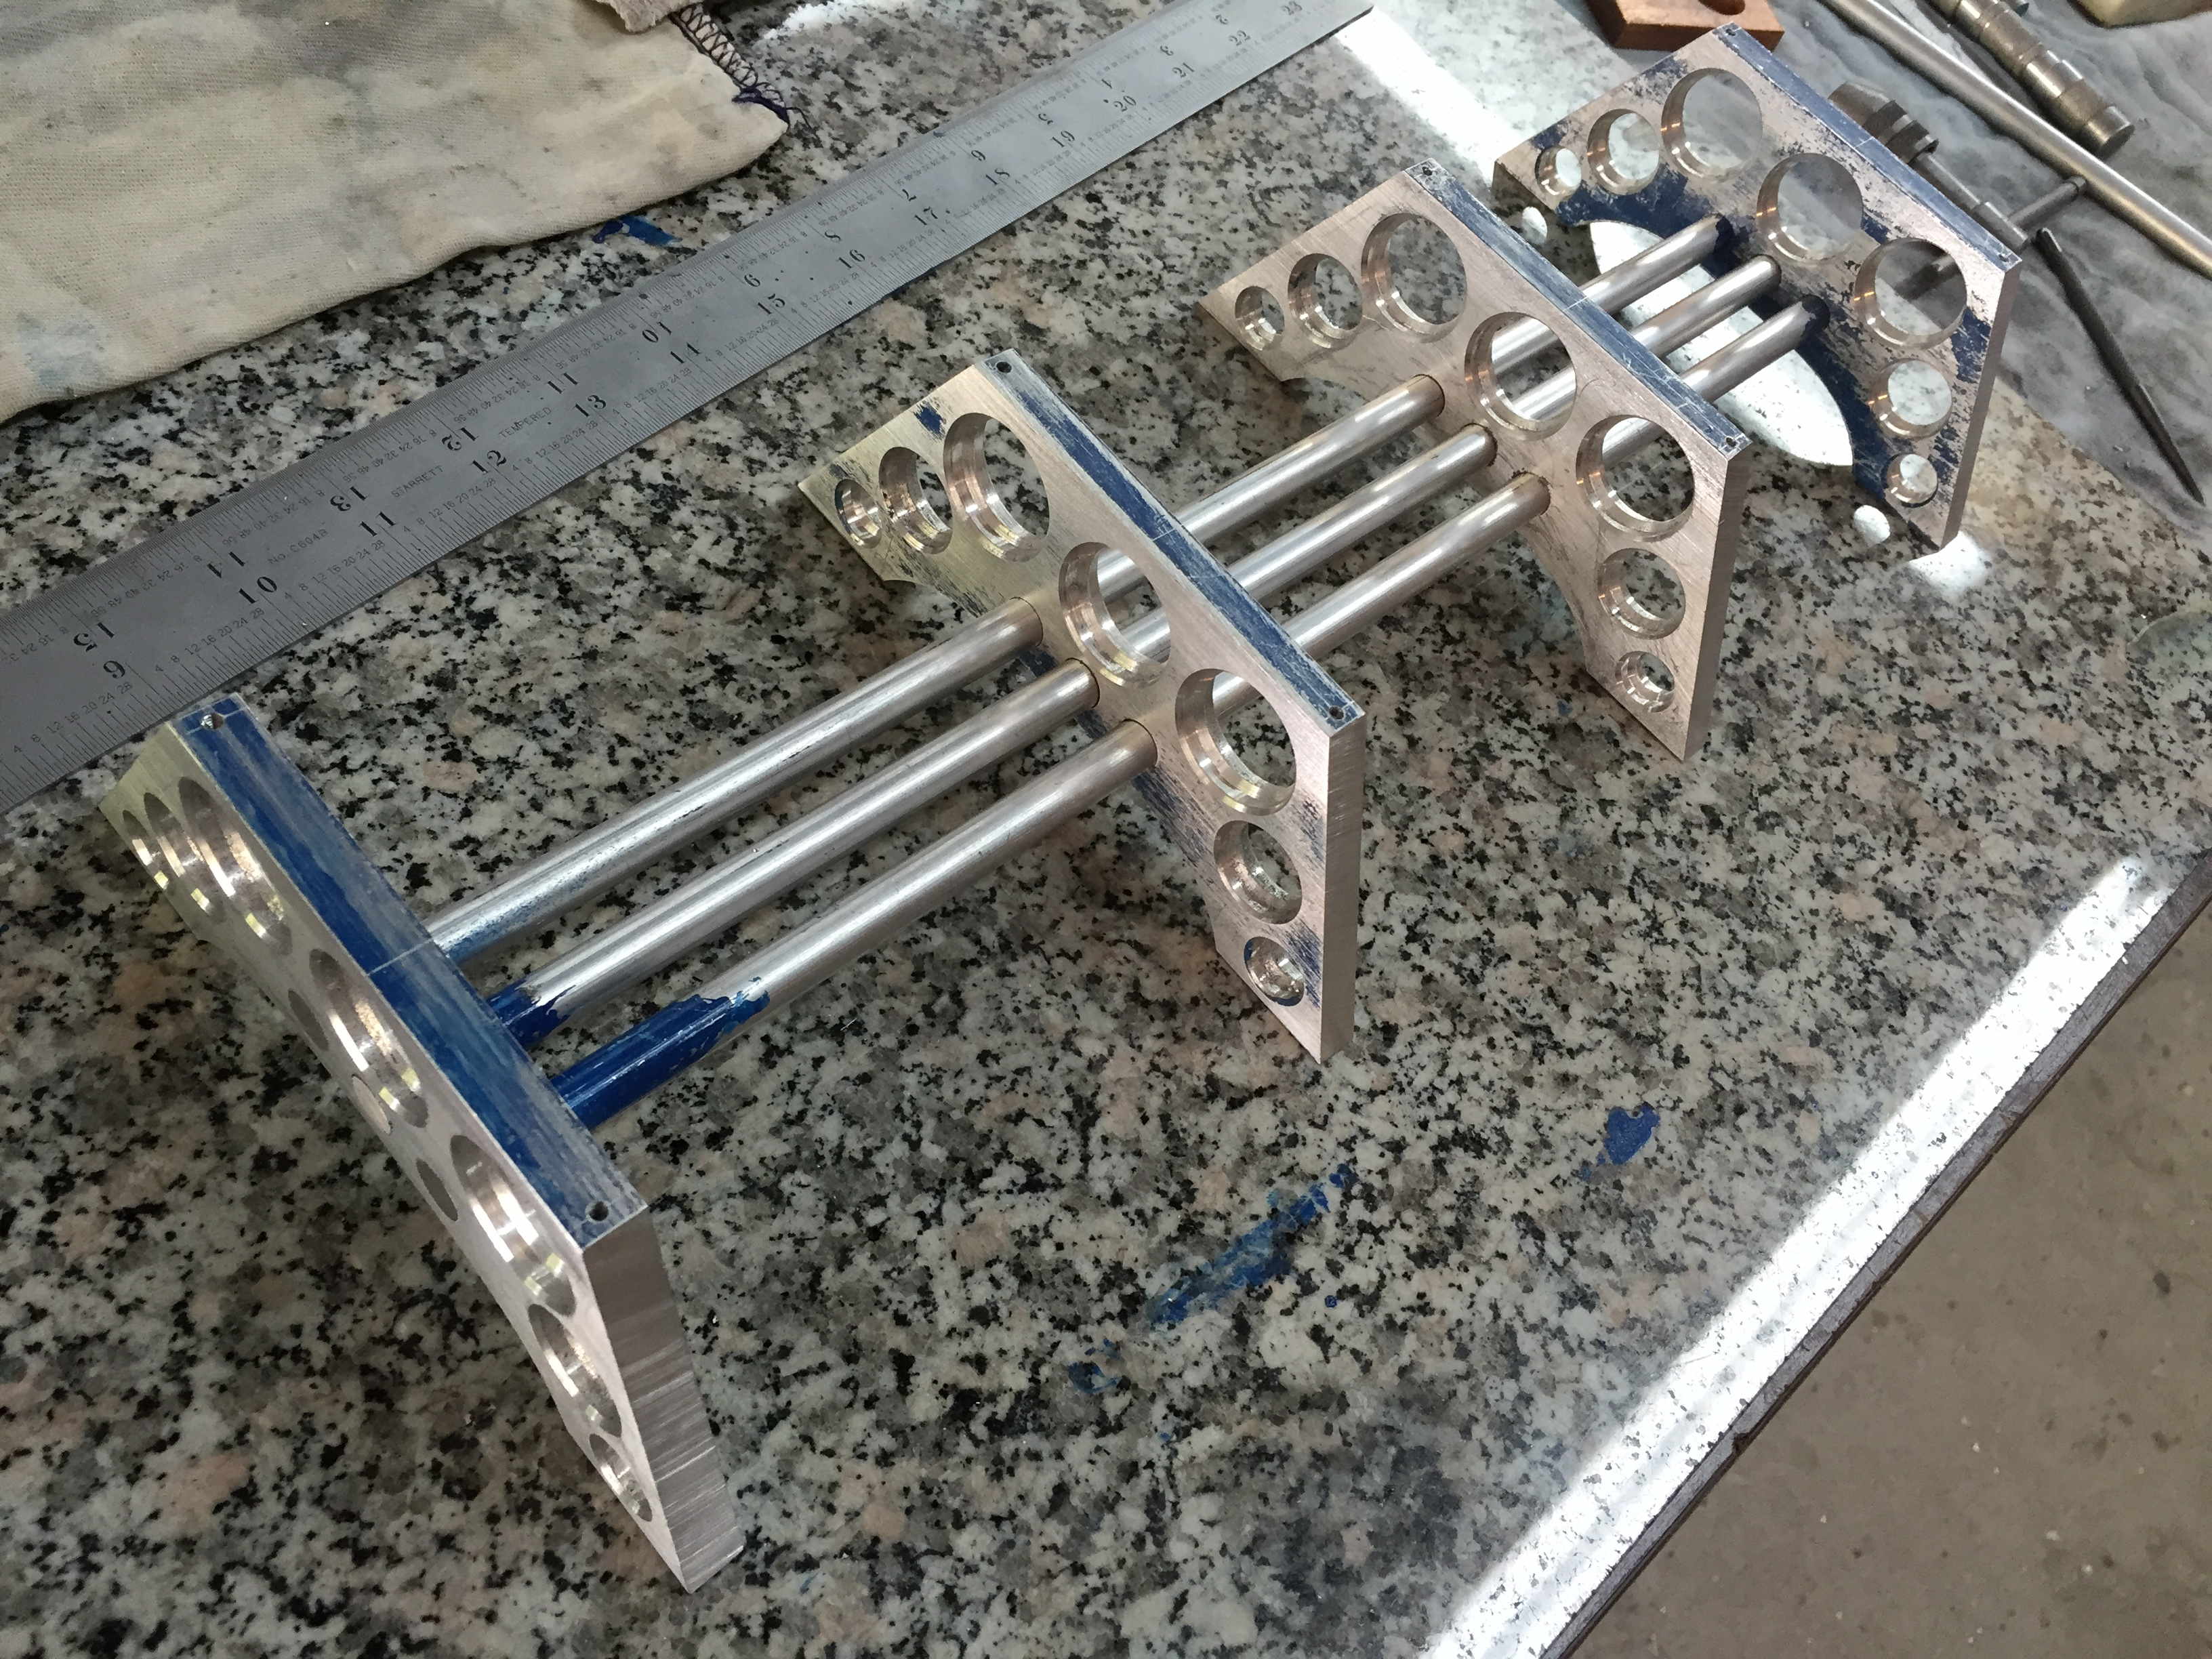
Some might think I do this stuff using an end mill, and I wish I had the room for one! But no, all is done using a metal cutting band saw, 12” Disk Sander, reciprocating spindle sander, drill press, and a lot of elbow grease and various hand tools. I started out with 3/8” X 2.5” aluminum bar stock and sized the 4 pieces to be identical (± .003) then laid out the hole pattern and the contoured bottom section on one of the blanks. Then clamped all 4 blanks together and drilled a small pilot hole for all 10 holes in the face of all 4 blanks while clamped together. Next drilled the three holes for the connecting rods +.010” since the rod was oversize. Then drilled each of the 7 remaining larger through holes .125” undersize. I also drilled and tapped the 12 set screw holes and 8 mounting holes on the top at this time. Then unclamped the pieces and used an 1-3/8” UniBit, or stepped bit, to open each of holes to their finish diameter, but only to a depth of .125”, thus leaving a nice triangular inner collar of material whose ID was .125” less than the finish diameter of hole. Worked out kinda cool!
Then I hand cut the angles and curved cutaway on the bottom side with the metal cutting band saw. The angles were cleaned up on the disk sander and the contour
on the reciprocating spindle sander. Then hand sanded all surfaces with 120 grit open coat and that’s pretty much it!
Trestle Stand Kits for this clock PCB are now available for sale for $250 each + shipping . Send me an email if you would like to place an order.
Michael Barile
BadNixie.com LLC